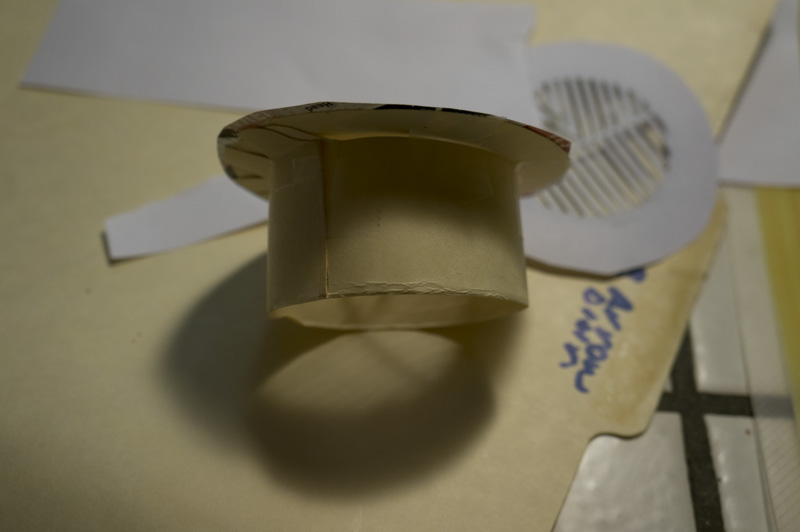
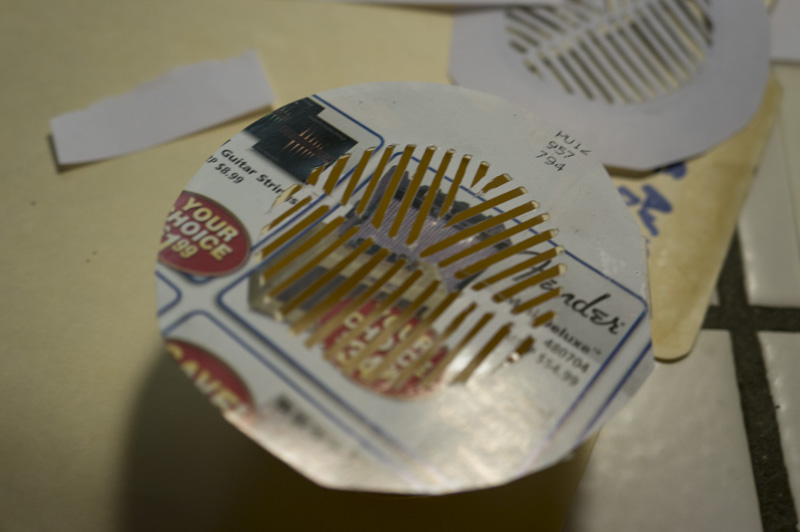
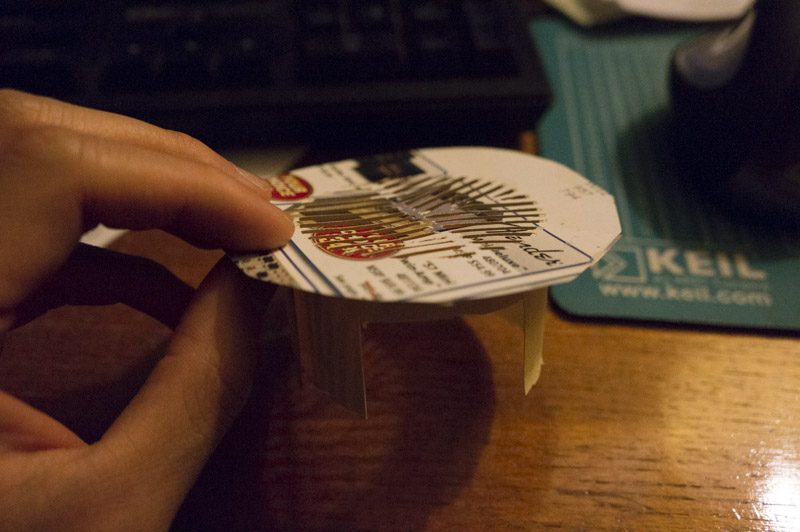
Screen door Bahtinov Mask
After making and using the Paper Bahtinov Mask for awhile, I decided to try to make a better, cheaper, and perhaps more robust mask. The original Paper Bahtinov Mask still works, however, it’s still a little too delicate for my tastes, and I would rather have a more resilient foldable solution for the times when I go on hiking or camping trips in the wilderness where compactness is important.
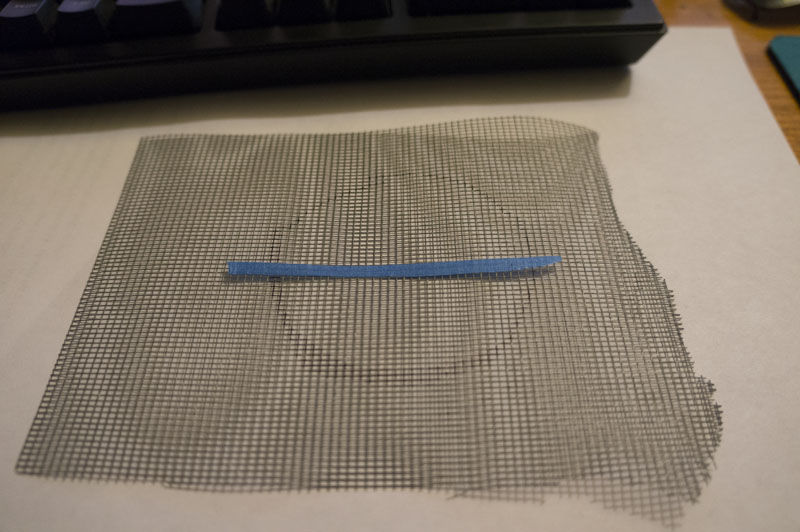
When mulling it over, there were several key considerations that lead to the idea of using screen material as a base to build a Bahtinov Mask. The first is that screen material is fairly robust and cloth-like and so it’s relatively easy to store and it’s decently strong. The second is that the unique features of the traditional Bahtinov mask rely on the existence of the particular set of parallel slits in each direction. It’s the obstruction of light in a particular orientation which creates the strong signal (“light streak” that can be seen when zoomed in on the view finder.
By the same line of reasoning, using a screen as a base in theory shouldn’t have much effect on the diffraction pattern, other than reducing incoming light by a tad bit. The reasoning is that the screen pattern obstructs light “equally” in horizontal and vertical directions. On average if the obstruction is small, the directionality of the bands is somewhat mitigated. If we align the portion of the Bahtinov mask that corresponds to the “large streak” (the largest portion that goes in a vertical or horizontal direction) with the screen door, we can ensure that that signal doesn’t get attenuated. The perpendicular orientation of the screen will then attenuate the symmetric portions of the mask equally; therefore the overall effect is that a stronger middle streak should occur., but the overall characteristics of the Bahtinov mask are retained.
With that in mind, I decided to use a sheet of extra screen I had laying around and use painters tape ask the masking material to create the pattern. I did not generate a mask this time. From the post on the Paper Bahtinov Mask, the important insight about the Bahtinov Mask is that the symmetric smaller portions remain parallel and symmetric to create the banding patterns that yield the diagonal light streaks. Therefore, I chose to keep a “slope” for each of the slanted portions that was easy to eyeball, and looked aesthetically pleasing, which ended up being a 3:1 vertical to horizontal ratio.
(Note: I understand of course that the angle of the smaller symmetric portions affects the angle of the diagonal lines, but as long as it’s visually appealing – I’m not using a computer to aid my focusing – I think it will be more than sufficient. The angle doesn’t affect the construction anyways.)
Construction
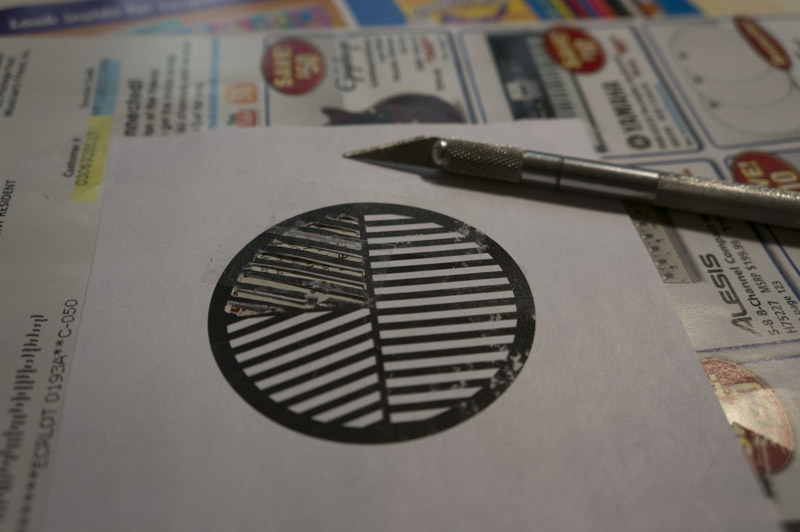
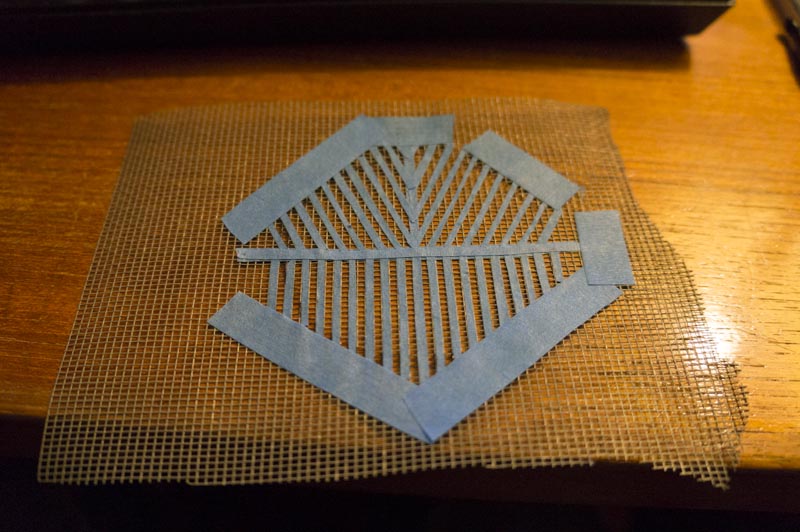
The construction is relatively simple. First trace a circle with a sharpie or some other marking utensil that covers the appropriate mask area. Next decide how thin you want each of the slots and bands of the mask. In this trial, I chose 2mm, because I can cut fairly straight slivers of painters tape at that accuracy, and because the more slots I have, hopefully the better signal I can get. The screen material was also spaced at roughly 2mm.
Start of construction
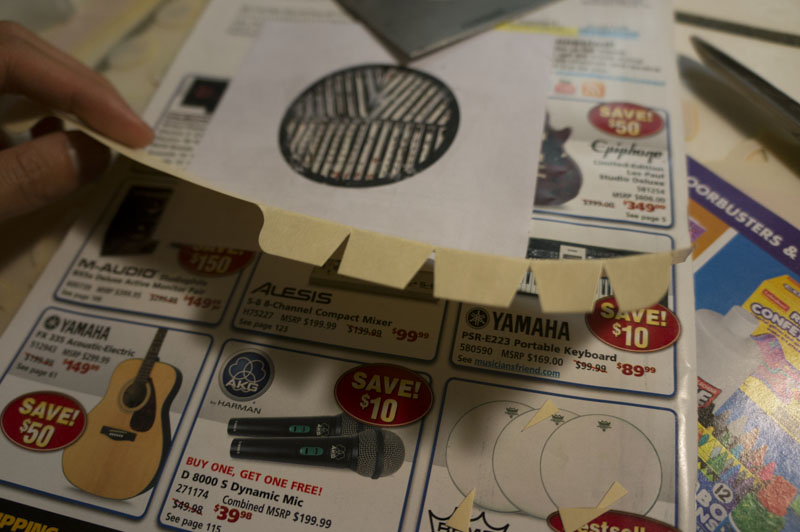
After marking the area which I want to cover and then using a slightly thicker piece of tape (4mm) to signify two halves, I placed a third vertical 2mm band over the middle to section the smaller symmetrical diagonal portions. I then proceeded to mark and cut 2mm long bands of painters tape and then applied them to the screen material. Diagonal bands were placed at a 3:1 vertical to horizontal ratio, and the large bottom portion contained vertical bands. The diagonal bands were more or less “eyeballed” at an even spacing and checked with symmetry. The vertical bands were placed 2mm (one screen grid spacing) apart. The mask took about 20-30 minutes to cut and piece together.
Cutting the bands made of painters tape
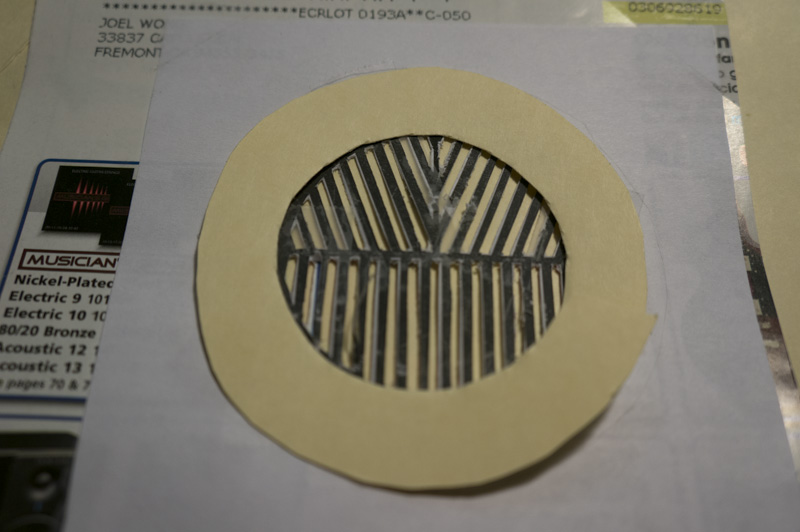
Mask used for the demosntration
Demonstration Test
The Screen door Bahtinov Mask is attached to the camera by centering the mask then folding the remaining material around the lens. A rubber band or temporary zip-tie is used to hold the screen in place while one focuses manually. After focus is achieved, the zip ties or rubber band is removed.
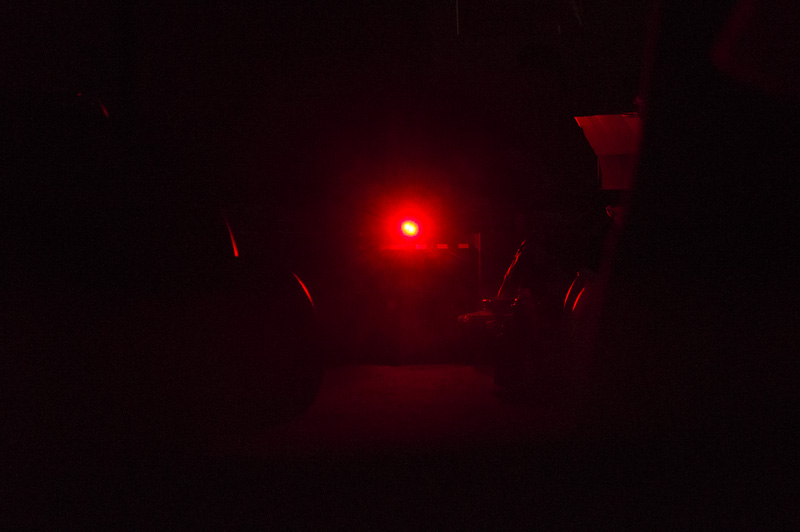
The following pictures show the mask in action. In this test I unfortunately used a headlamp that has two LEDs thus if you zoom in you will see not one, but two sets of light streaks. The pictures were taken from a chair with a 2 second delay.
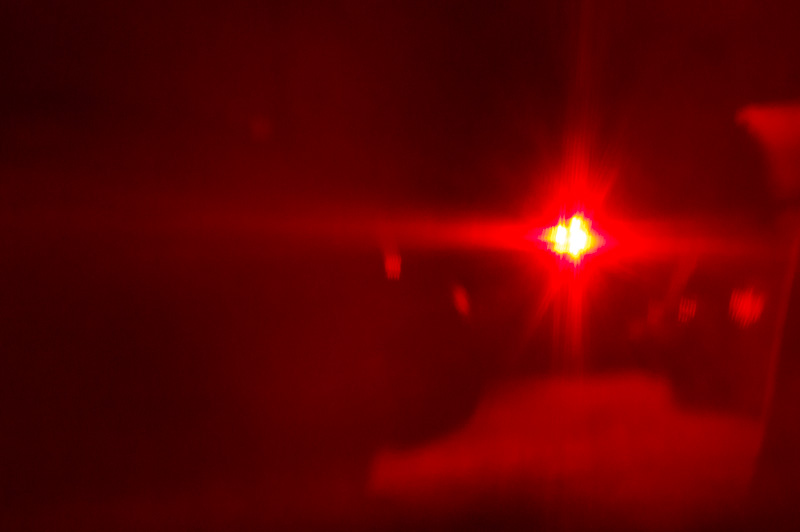
original image
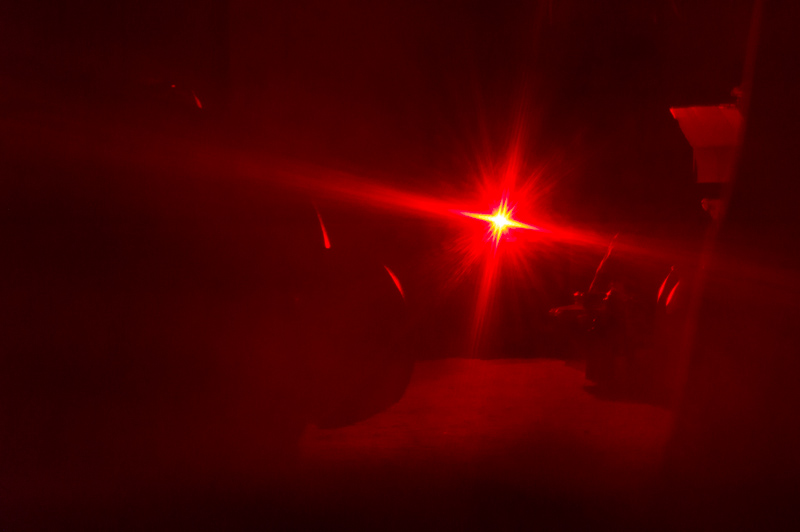
focused image
And the in-focus image.
focused image
After usage, I noticed that some of the bands of painter tape weren’t reinforced onto the screen too strongly, so I added some thicker bands of painters tape on the periphery as well as in the main horizontal and center vertical band
Conclusion
As you can see here, the Screen door Bahtinov Mask seems to work fairly well. I’d warrant to say it works as well as my Paper Bahtinov Mask which I used for a few nice panoramas at Sequoia National Park. Here’s one of my 500px photos where I used the Paper Bahtinov Mask for focusing.
There are definitely a few improvements I could make. Placing painter’s tape on a screen naturally evokes thoughts about screen printing. I don’t have a lot of experience in this area, and you would have to go through the screen printing masking and etching process for every few Bahtinov masks you want to make. A similar idea that I am proposing is to 3d print a relatively large yet fine Bahtinov Mask at a thin thickness (say 4-5mm). Place a screen over the thin 3d printed mask. Next use a spray on plastic like PlastiDip and spray the mask several times. Replace the sacrificial spray base material until a thin layer of plastic forms atop the screen which is atop the Bahtinov mask. Lastly, peal the screen from the mask, and hopefully one can achieve a beautifully opaque bahtinov mask. If one prints a large 3d mask that covers up to 77-80mm, that should pretty much cover most camera lenses. Making smaller lenses is simple, as the large mask can be reused. One simply covers part of the screen such that a smaller portion of the mask and screen are exposed to Plastidip. If anyone tries this out, please let me know if it works.