Paper Bahtinov Mask
Lately, I’ve been getting into astrophotography, and so I’ve been spending several hours every month or so outside at night. The thing about astrophotography is that you have to be somewhat familiar with identifying constellations and then on top of that you have to be able to master the technicalities of acquiring enough light in the proper fashion to produce acceptable and interesting photos.
Like all beginners, I made the mistake of taking a bunch of pictures in a wonderful place (Lone Pine, CA) where the light pollution is almost non-existent during a new moon for 2 hours and I neglected to really check the most important thing, which is to CHECK the FOCUS!.
Unfortunately, as you may know, I am using a kit auto-focusing zoom lens (SEL1855) with my NEX 5R. The focus ring is manual (which is great for astrophotography) but it has no markers, because the focus ring is not a manual ring! It’s more or less a potentiometer used to tell the motor how much to change the focus, and so it spins around indefinitely. As you can tell, this can make focusing a tad harder, as you can never turn the ring until it stops at infinity or more than infinity focus. Also, because I have a NEX 5R it doesn’t tell you anywhere on the camera, what your approximate focus distance is. Even if it did, astrophotography is relatively unforgiving when it comes to nailing down the focus.
Reading up on focus methods for astrophotography brought up a nifty diffraction mask called the Bahtinov mask. It was invented by Pavel Bahtinov (although I can’t really find too much about this guy) for the purpose of accurate focusing of telescopes. You can read more about it on wikipedia, but the the diffraction pattern creates 3 “streaks” of light that intersect each other (although not necessarily at the same location) are emitted when you zoom in and focus on a bright light source at night with the mask attached. When the image is out of focus, the intersection point will not be in the middle. The convenience of the Bahtinov mask is because the mask is symmetric about one axis, the two diagonal streaks are symmetrical. The position of the “middle” streak can then be judged quite easily by the human eye. When the image is in focus, the middle streak should be exactly in between the two diagonal streaks and all 3 should intersect at one point!
Mask Creation
There are several ways to obtain a mask. The simplest way (although perhaps the most expensive) is to order one online. The second is to use the free Bahtinov Focusing Mask Generator provided by astrojargon. However, I could never get it to properly work given the clear aperture settings of my tiny MILC NEX 5R. It seems the mask generator was designed for “actual telescopes”. If you scrounge around online, you’ll also see that people have built their own custom bahtinov masks using spare pieces of plastic, wood, and metal.
Also online, there have been mentions of creating a simpler “Y” mask. I created one, but it didn’t seemed a little more finicky and a little harder to setup, so since I don’t really understand it, and it didn’t really work for me, I decided to just keep myself to the standard Bahtinov Mask.
However, being an engineer and having a penchant for what my friends refer to as “ghetto engineering”, I decided to make one out of paper. After talking to my friend Daniel who is finishing up his Ph.D. in lasers and optics at UCLA, about how much construction precision actually matters for a diffraction mask like this one, the overall conclusion was, that as long as the lines are fairly parallel, it should create a relatively strong signal with which the Bahtinov focusing effect should be good enough. The construction precision overall shouldn’t be that important as long as the average orientation of the mask slits are accurate enough. Therefore, I decided to first try out a bahtinov mask made of just paper and paper based products I had lying around at home. I pretty much eye-balled the mask holder construction, so it’s definitely not pretty.
Cutting the Mask
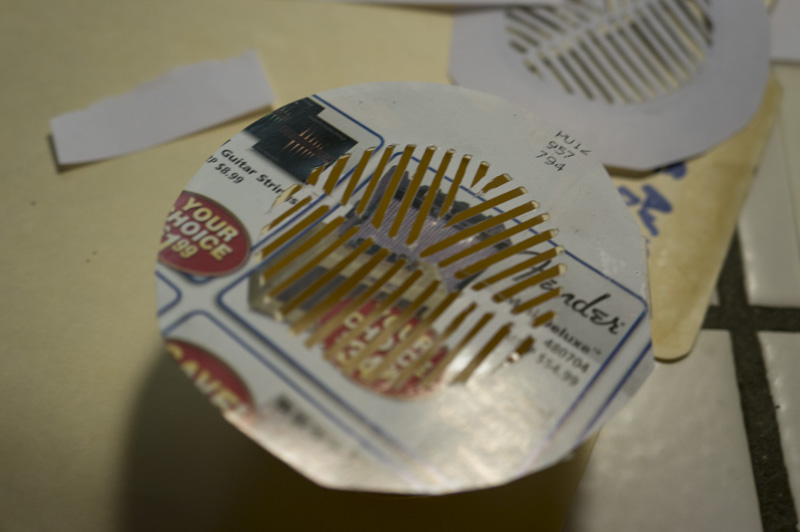
The first step was to generate a mask that looked possible to cut and didn’t require too much work on astrojargon. So I basically generated a large template that looked good and then shrunk it down to a diameter that is slightly larger than my 49mm lenses.
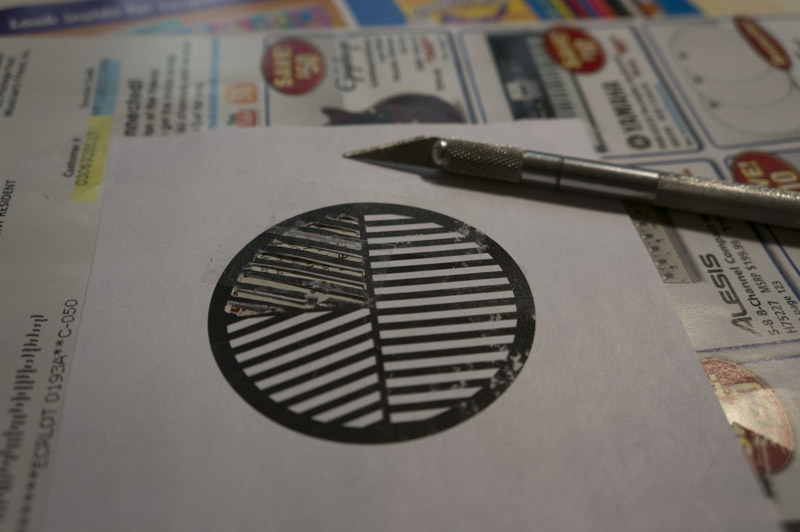
Cutting out the mask.
I taped the mask to the front page of a spare musician catalog (I actually like the retailer, I just haven’t had the need to buy another instrument recently, and why let a perfectly good piece of paper go to waste!). Next I pulled a trusty X-acto knife and started scoring away with a ruler. The mask probably took 30-40 minutes to cut out.
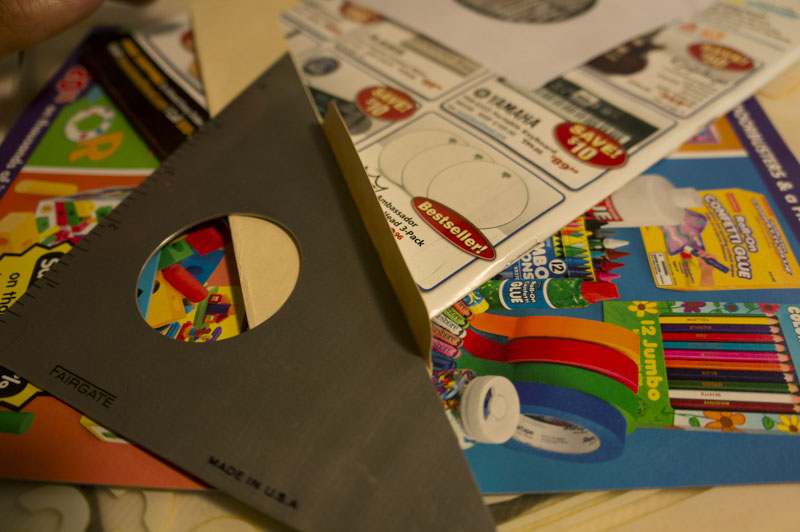
Mounting the Mask
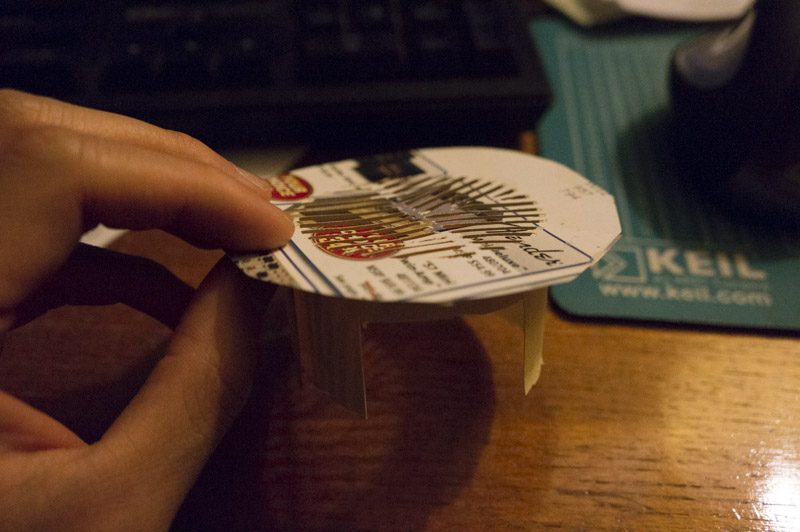
After cutting the mask, I decided to create a mask holder out of a manilla folder I had that was already slightly bent on one side. Using a ruler, I created a flange which I then cut into segments to create a crown with which to hold the paper Bahtinov Mask.
Creating the flange for the crown.
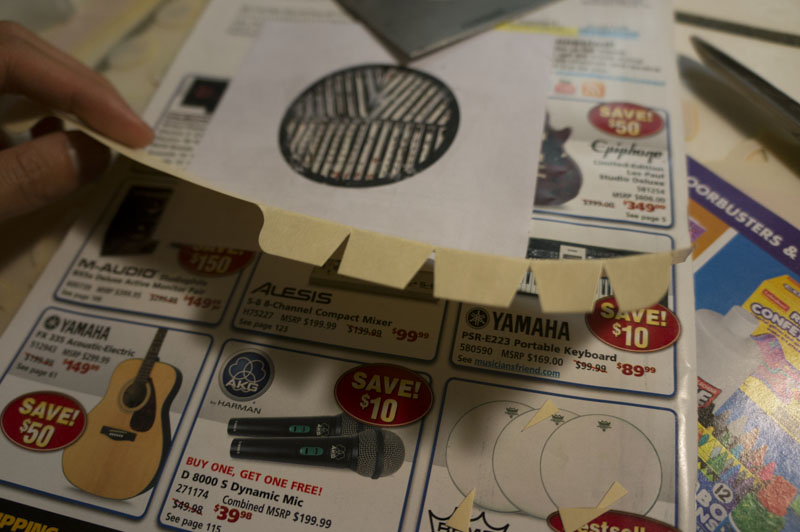
Separating the flange for the crown
I also cut out a larger cardboard ring to mount the mask onto. The ring also serves as something sturdy for me to attach the flanges of the crown to also.
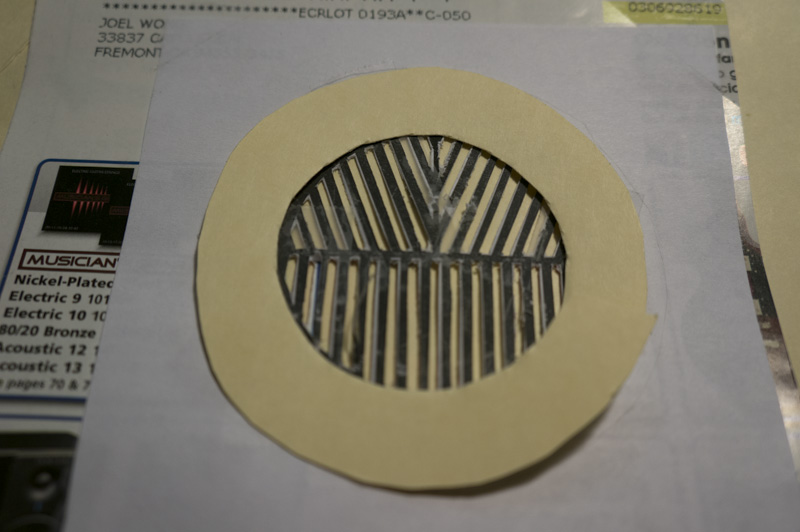
Reinforcement ring
Using a bit of Elmer’s rubber cement (just in case I needed to make adjustments) I assembled the paper bahtinov mask.
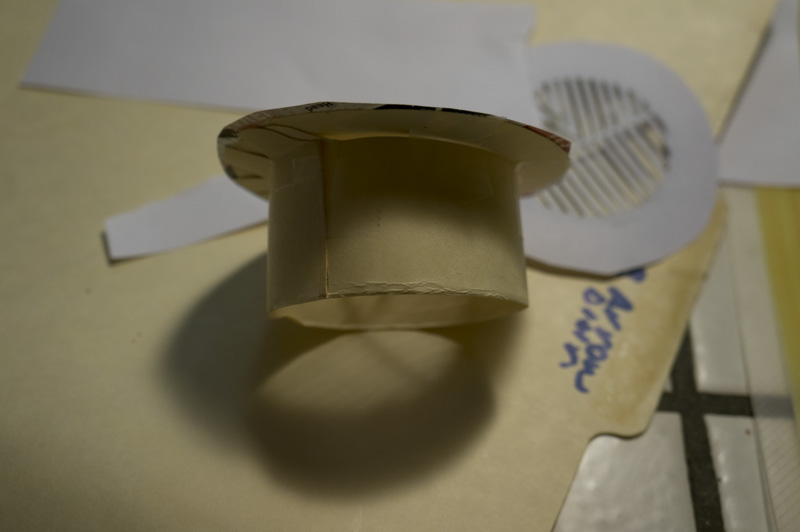
Assembled mask
Top view of assembled mask
Going out on a test run revealed a few things. The first is that it seemed that I couldn’t see the 3 light streaks, but instead saw 3 images of the light I was focusing on. Aligning all 3 images yielded an very in-focus image. I later found out that the mask actually works as prescribed. However on the LCD viewfinder on the NEX 5R, what is initially displayed is not 1:1 pixel density. The light streaks are actually small, and so I need to zoom into 4.3x or 9.6x to see the 3 light streak focusing phenomenon.
The other thing I noticed was that I had a hard time rotating the focus ring. On the SEL1855, the focus ring is the front ring closer to the lens, and the zoom ring is behind that. The crown of the mask holder covers up the focus ring. As a compromise in order to retain some semblance of material strength, I cut two slots into the crown so I could rotate the focus ring while allowing the mask to grip the lens fairly well.
SEL1855 Adjusted Paper Bahtinov Mask
Conclusion
Overall, I’d call this work of “ghetto engineering” a success. It gives me confidence in nailing the focus for photos at night and it helps me visually determine how out-of-focus I am. When using it with really dark skies, I’ve noticed that it’s hard to find bright stars to use this on. One trick for focusing with dark skies that I read about online is to walk 40-100ft away and leave a bright LED flashlight. Then walk back and then proceed to focus on the light with the mask on. I’ve found this to work quite well especially because I’m shooting slightly wide (about 24mm equivalent).